
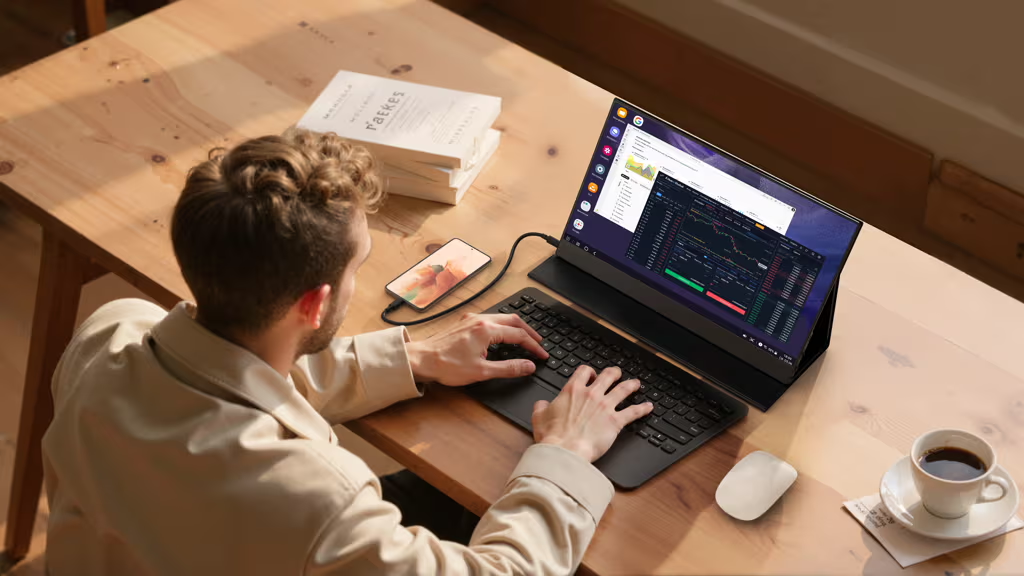
Raspberry Pi projects have a way of outgrowing a tiny HDMI screen fast, whether you are running a home server, tinkering with a retro gaming build, or using the Pi as a full desktop replacement. Pairing it with a proper external display solves the cramped screen problem instantly, and a growing number of makers are reaching for a lightweight, portable option instead of a bulky desktop monitor, since it keeps the whole setup as compact and moveable as the Pi itself.
Why a Portable Monitor Works So Well With Raspberry Pi
A portable monitor matches the philosophy of the Raspberry Pi almost perfectly. Both are built to be small, low power, and easy to carry, so combining them results in a full computing setup that fits in a backpack rather than taking over a desk. Where a standard monitor needs a wall outlet and a chunky base, a portable display usually runs on the same kind of USB power the Pi already uses, which means fewer cables and a setup that can move from a workbench to a coffee table without any real reconfiguration.
This pairing has become especially popular for people building dedicated project stations, retro emulation rigs, or mobile coding setups they want to take with them rather than leave permanently wired to one location.
Checking Compatibility Before You Buy
Not every display connects to a Raspberry Pi the same way, so it is worth checking a few details before purchasing one. The Pi 4 and Pi 400 use micro HDMI outputs, while the Pi 5 and most modern portable displays increasingly support USB C for both video and power, so matching the right cable to your specific Pi model matters more than people expect. Older Pi models such as the Pi 3 use a full size HDMI port, which is easy to overlook if you are used to newer hardware.
Resolution support is another factor. Most portable displays handle 1080p without issue, and many newer Pi models can output up to 4K, though running a Pi at higher resolutions can strain its processing power during video playback or graphics heavy tasks. For most general purpose projects, sticking to 1080p keeps things smooth without pushing the Pi harder than necessary.
Setting Up the Connection
Getting a portable display working with a Raspberry Pi is usually a matter of matching cables correctly rather than installing anything complex. If your Pi has a micro HDMI port, a micro HDMI to standard HDMI cable connects directly to most portable monitors. Pi 5 users with a USB C capable display can often use a single USB C cable for both video and power, which cuts the cable count in half and makes the whole setup noticeably tidier.
Power is worth planning around separately from video. Some portable monitors can be powered directly from the Pi’s USB ports, though this only works reliably if the Pi’s power supply has enough spare capacity, which is not always the case with lower output supplies. In most setups, powering the monitor from its own USB power source alongside the Pi’s own supply gives more stable results and avoids random shutdowns caused by insufficient power.
Adjusting Display Settings on the Pi
Once connected, Raspberry Pi OS usually detects an external display automatically, but a few adjustments make the experience smoother. Opening the Raspberry Pi Configuration tool lets you set the correct resolution manually if auto detection picks something that looks stretched or blurry. For touchscreen capable portable monitors, additional driver installation may be required depending on the specific panel, so checking the manufacturer’s setup instructions before assuming plug and play touch support is worth the extra few minutes.
Users running the Pi headless, meaning without a monitor attached most of the time, can also configure a forced HDMI resolution in the boot configuration file. This prevents the display from defaulting to a low resolution fallback mode the next time a monitor is connected for a quick check or debugging session.
Building a Portable Pi Workstation
Once the connection is sorted, the real advantage becomes clear: a Raspberry Pi and a portable display together weigh barely more than a paperback book, yet can run a full desktop environment, a coding setup, or a retro gaming console anywhere there is a flat surface and a power source. Makers building travel friendly setups often pair the two with a small keyboard and a battery pack, creating a complete computer that fits entirely inside a small bag.
This setup is particularly useful for classroom demonstrations, maker fairs, or any situation where you need to show a working project without hauling a full monitor and desktop tower along with it. It also makes troubleshooting easier at home, since you can carry the whole Pi setup to wherever the actual hardware project is happening instead of running long cables back to a fixed desk.
Frequently Asked Questions
Can any portable monitor work with a Raspberry Pi?
Most can, as long as the cable and resolution match your Pi model. Checking for HDMI or USB C support before buying avoids compatibility issues later.
Does the Raspberry Pi need a separate power supply if the monitor is connected?
In most cases yes. Powering both the Pi and the display from the Pi’s own USB ports can lead to instability unless the power supply has extra capacity to spare.
Is a portable monitor good enough for everyday Raspberry Pi use?
Yes, for most general computing, coding, and media tasks a 1080p portable display provides more than enough clarity and size for comfortable daily use.
Final Thoughts
Pairing a Raspberry Pi with the right display turns a tiny board computer into a genuinely usable, portable workstation. Getting the cables and settings right takes only a few minutes, and the payoff is a setup light enough to carry anywhere a project needs to go. For makers who want a reliable, well built option to pair with their Pi, brands such as UPERFECT are worth checking out when choosing a display built specifically with portability in mind.

